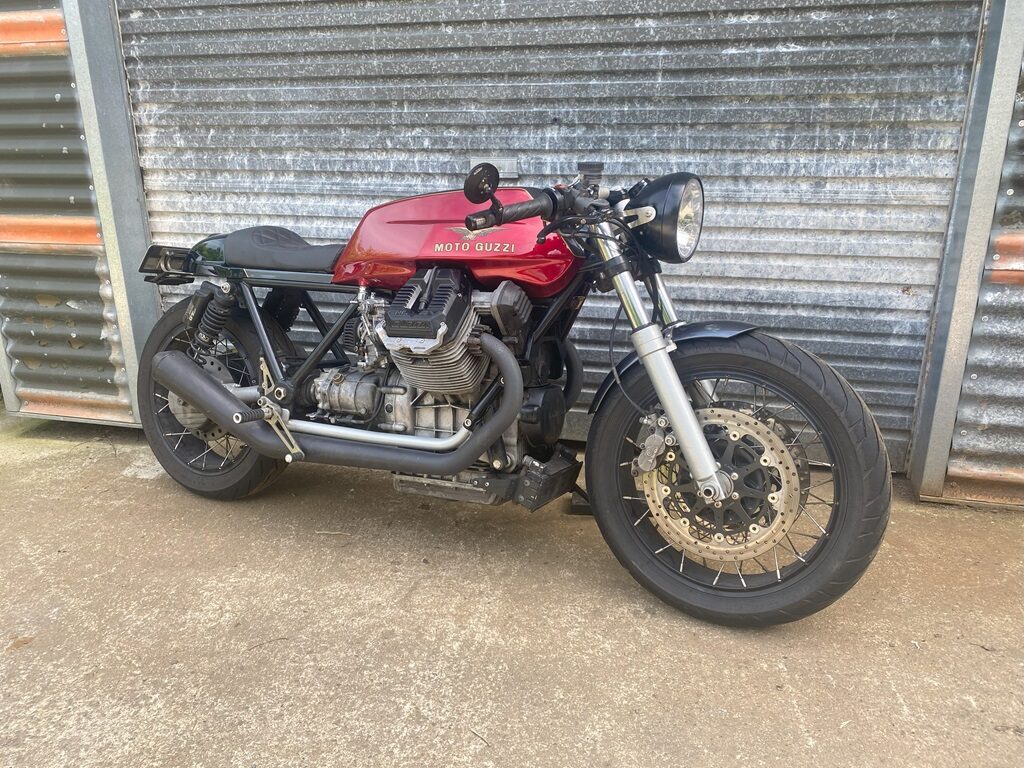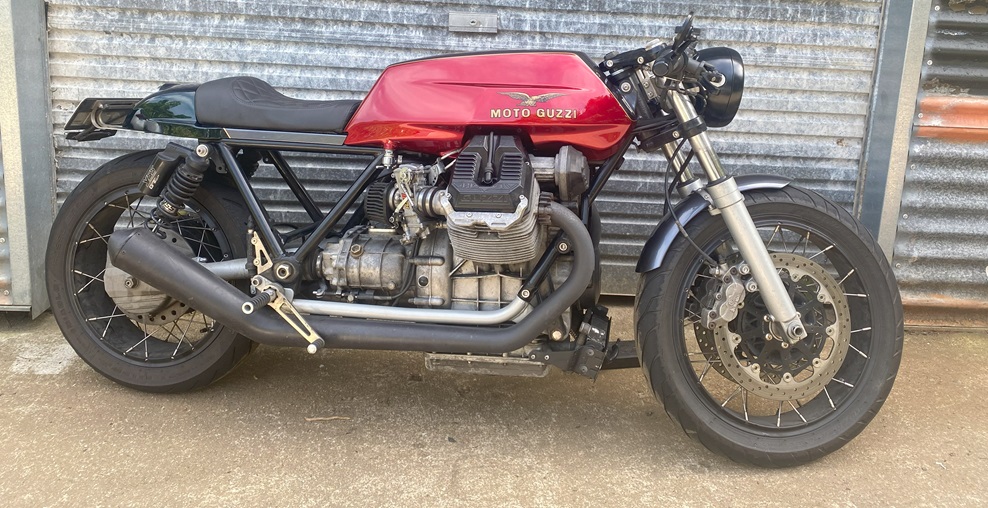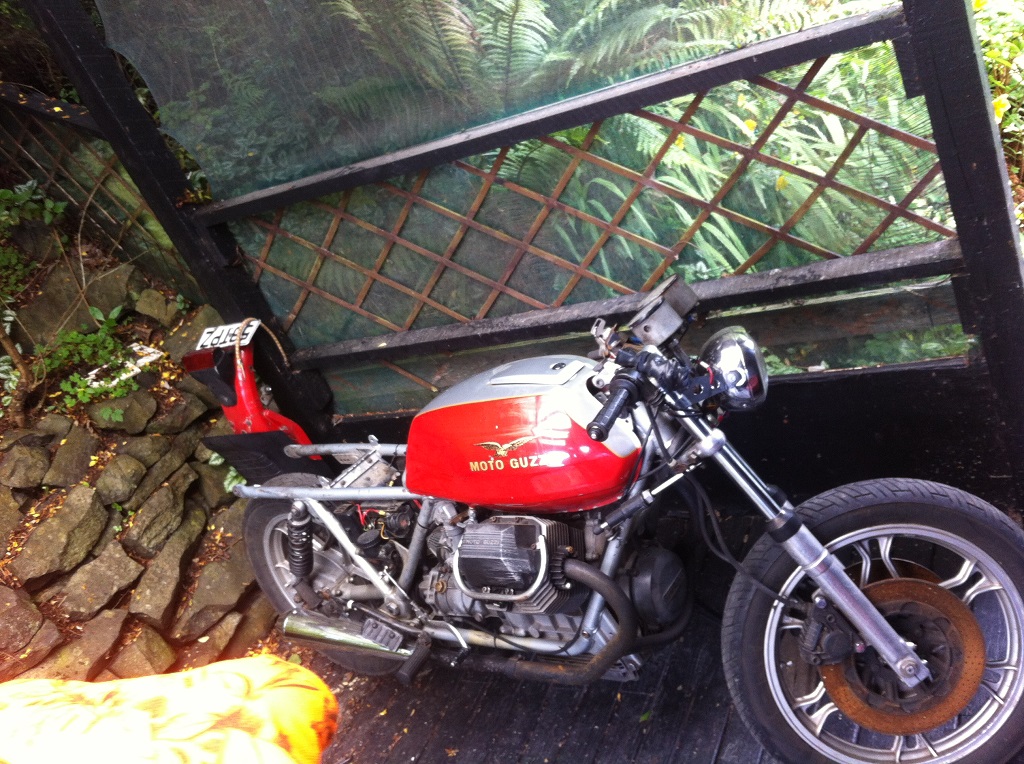
Sep, 2014 – Cafe style rear pod, wheel and mudguard change
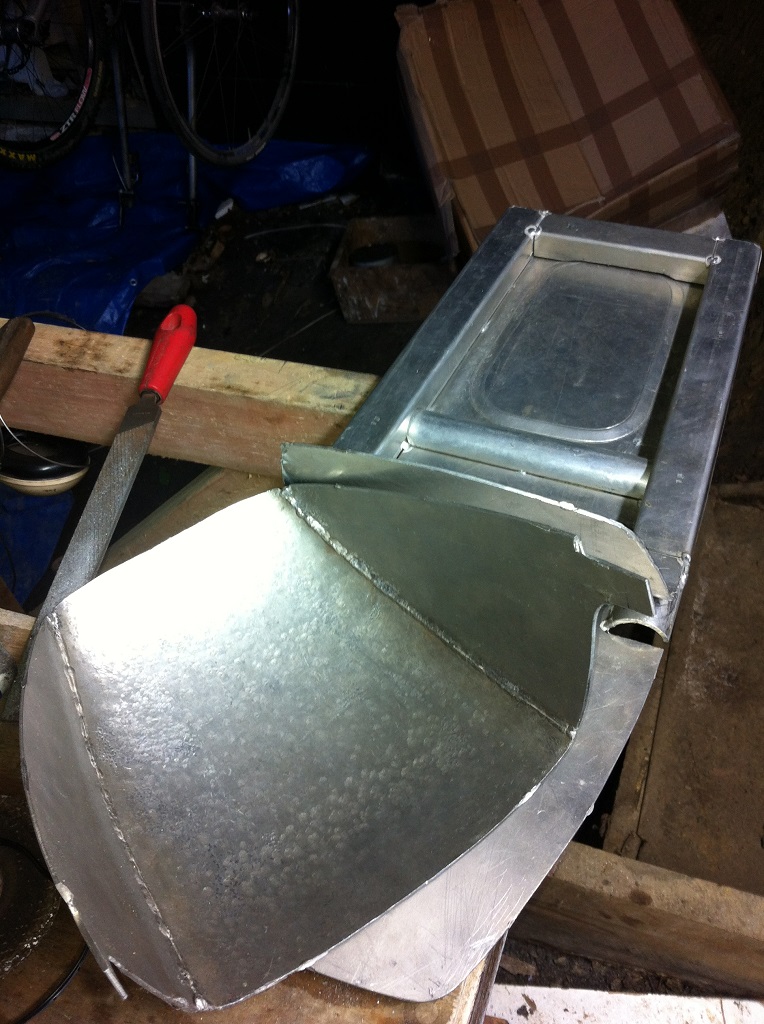
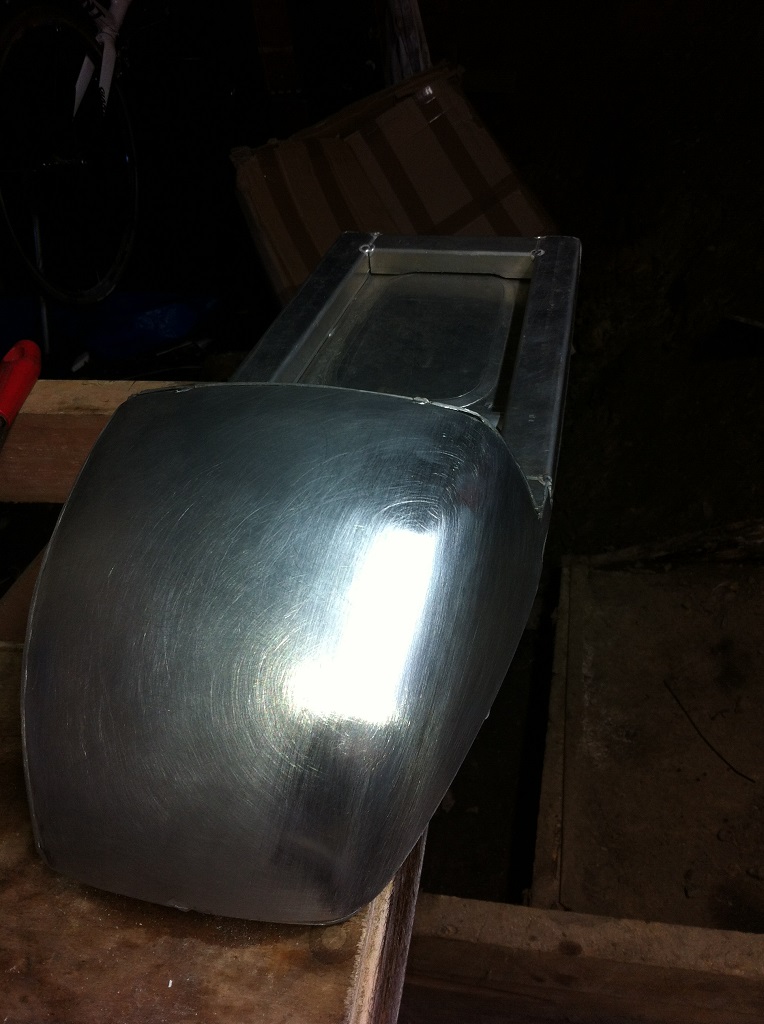
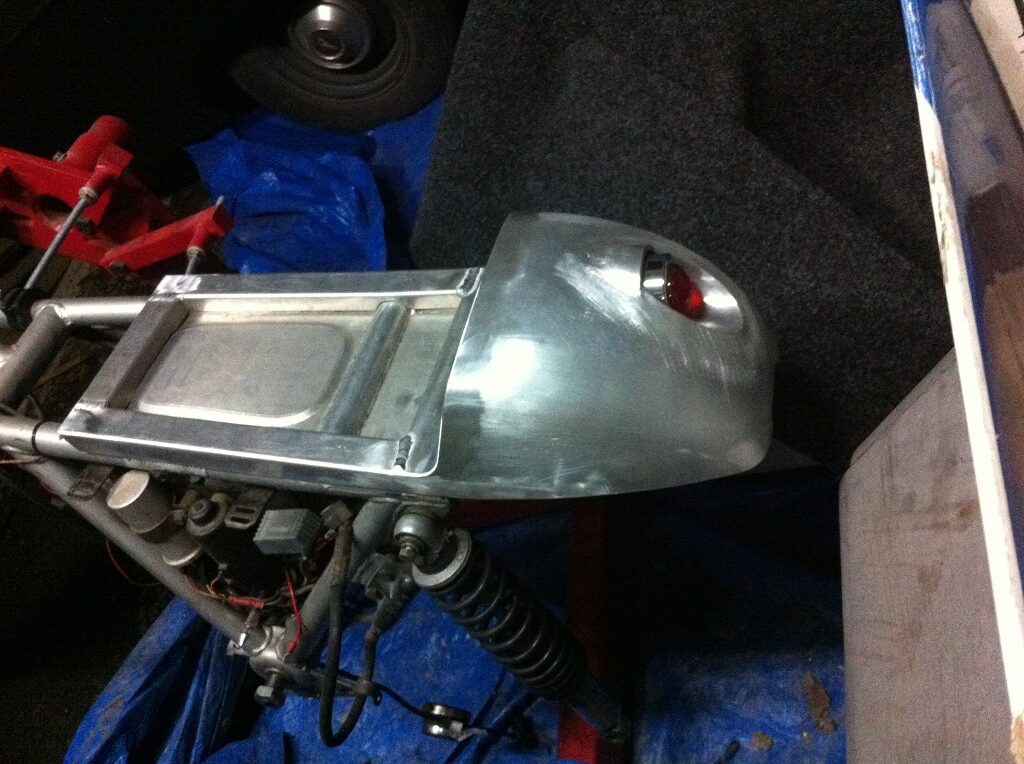
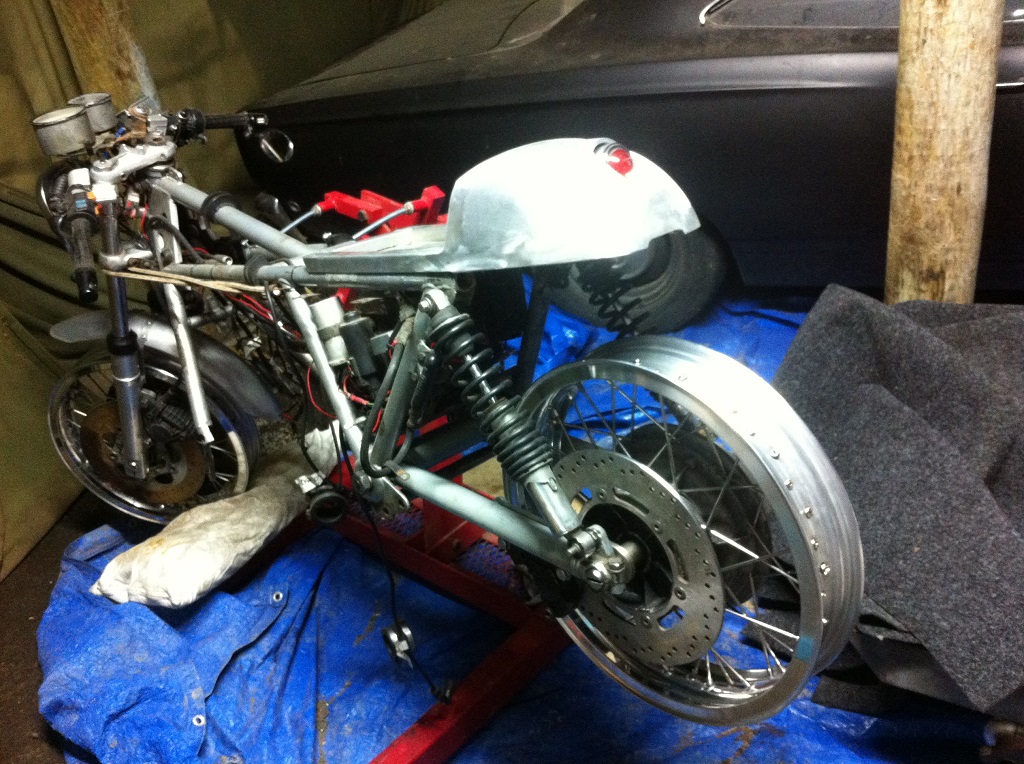
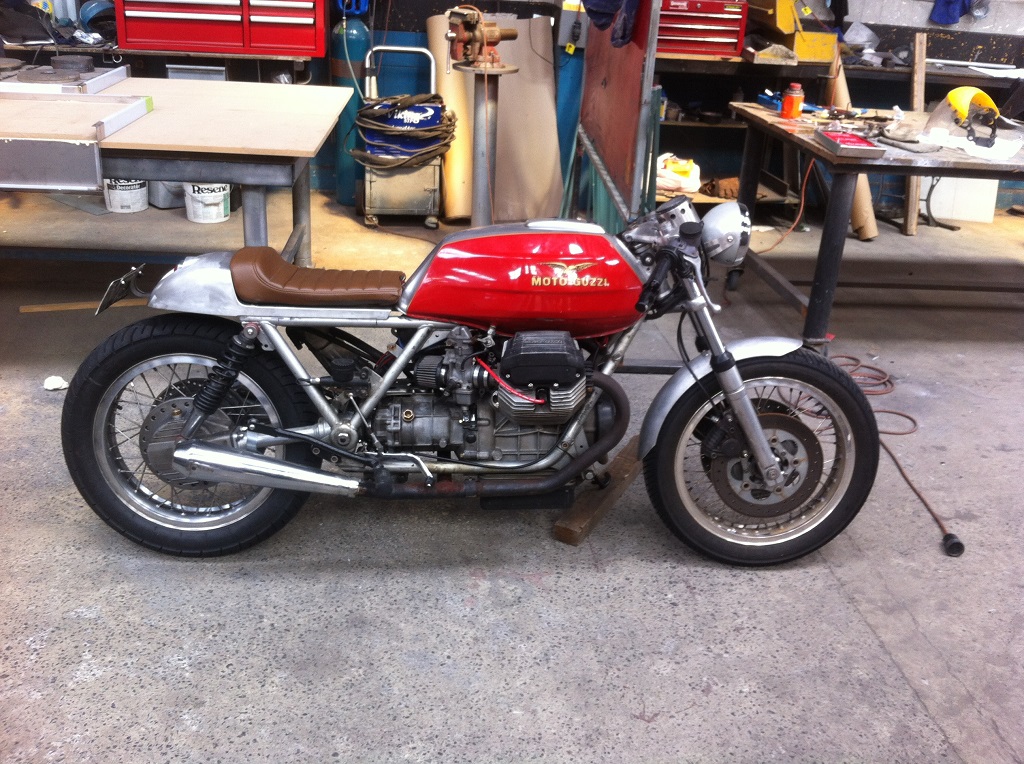
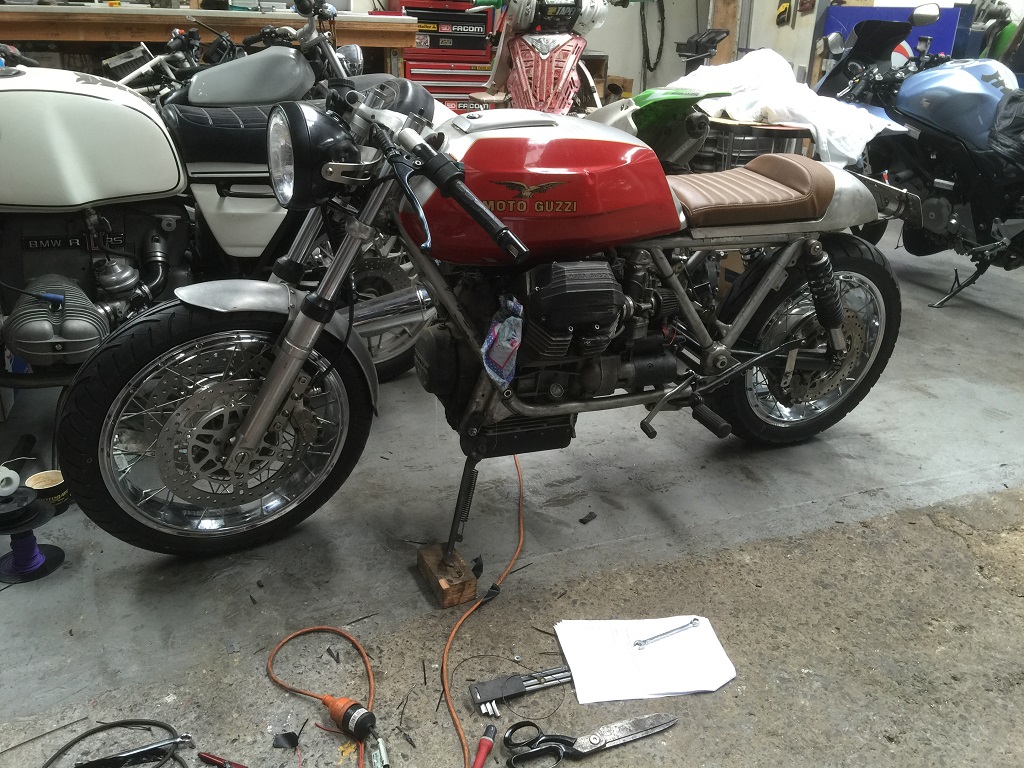
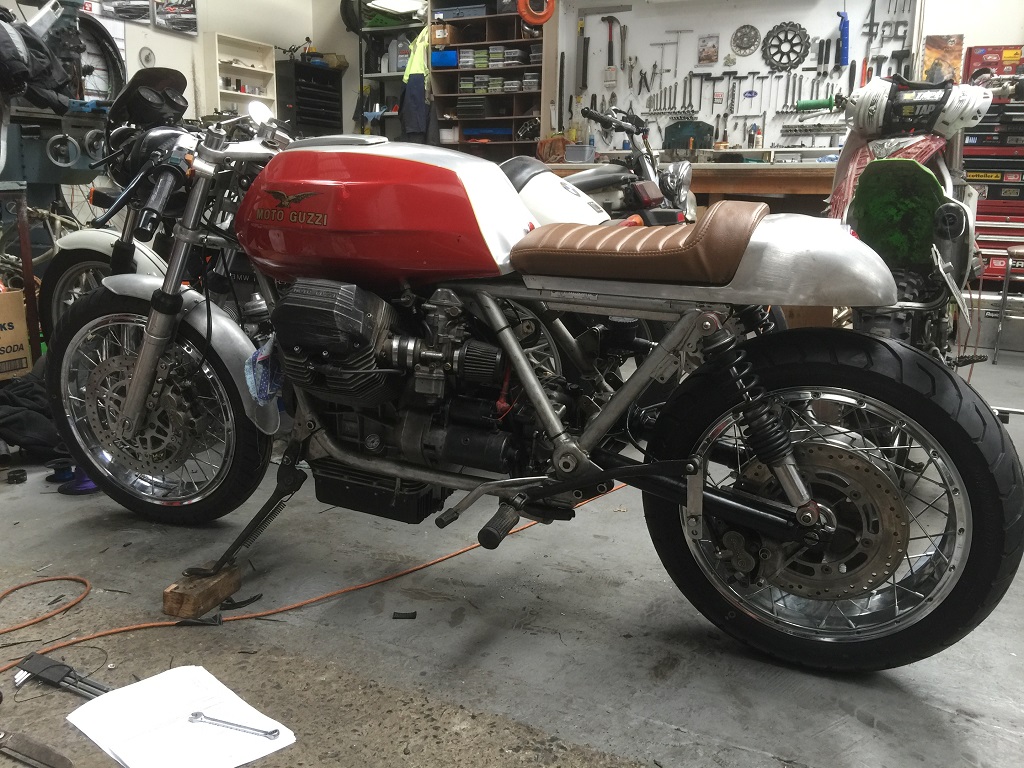
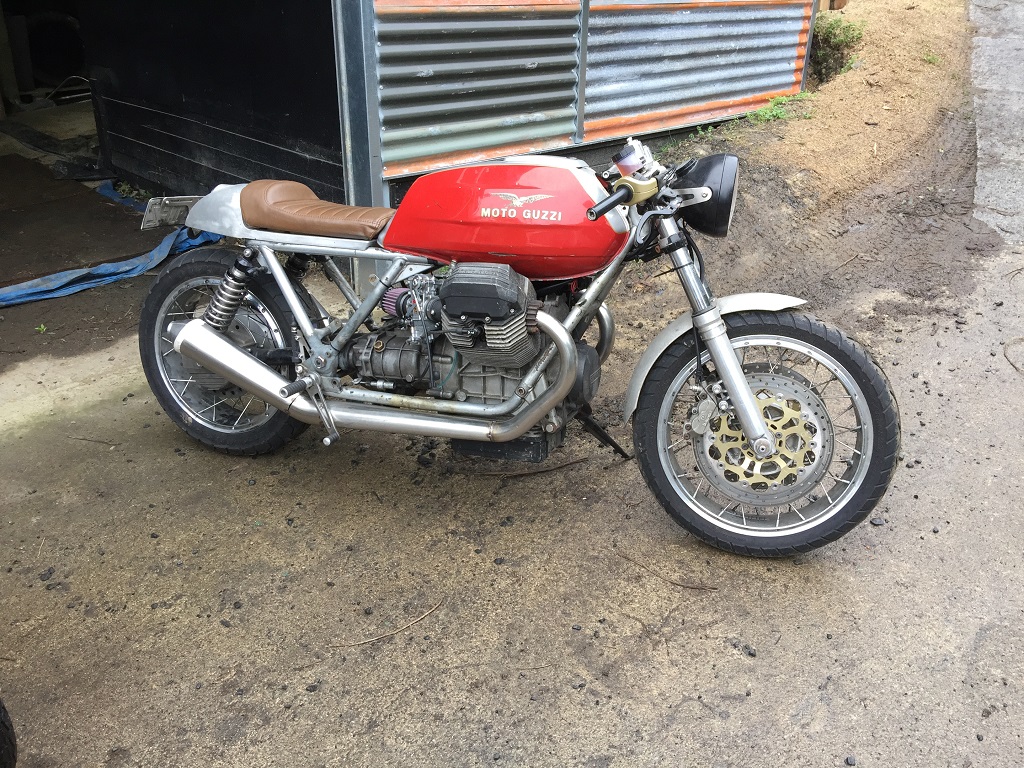
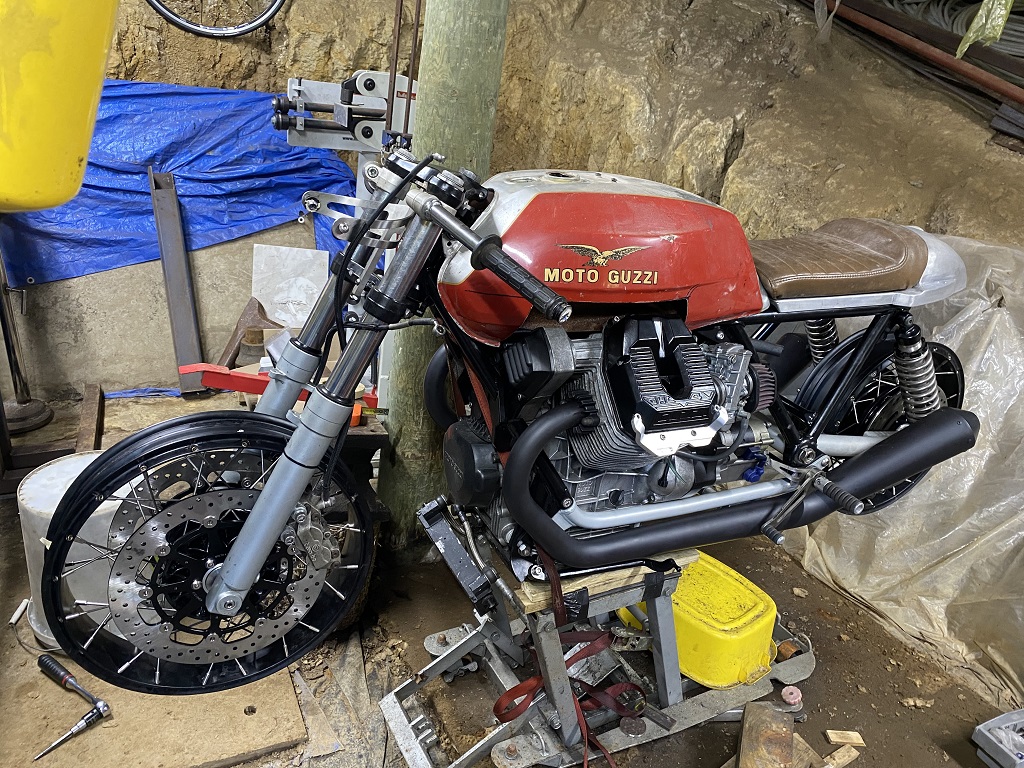
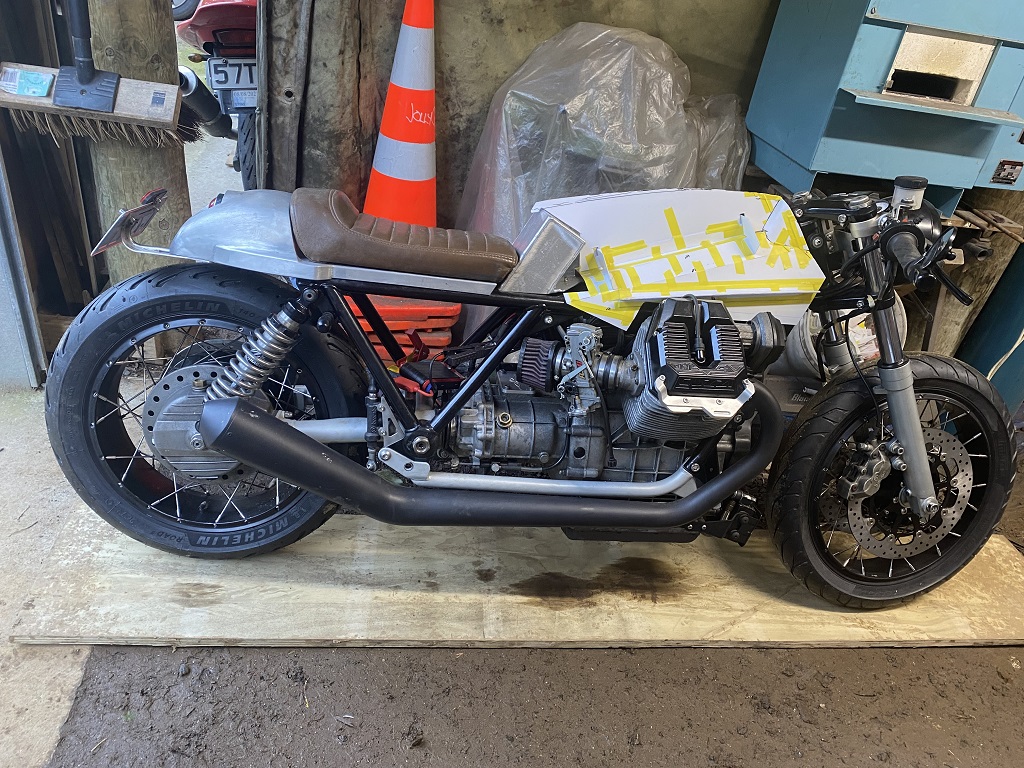
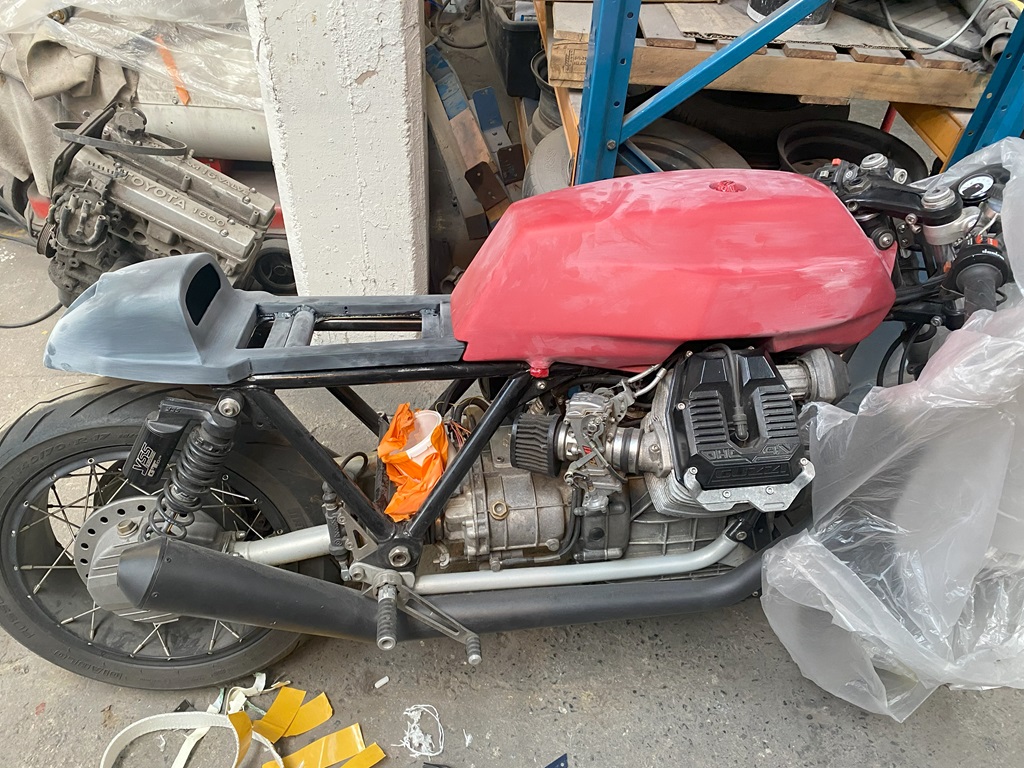
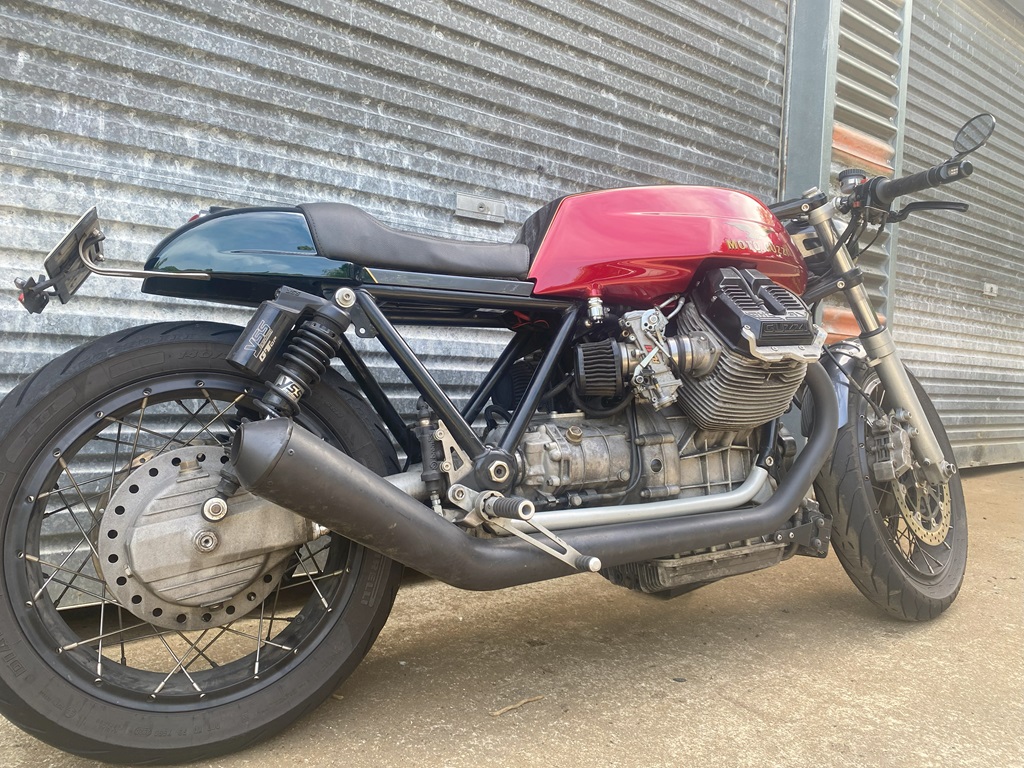
I guess the atypical aspects of the cafe racer are a bare bones look. The tailpiece is made to remove all the weighty factory seating components whilst giving the project its classic cafe look. Being a metal fabricator I have chosen to make it from aluminium and it has given me the opportunity to try complex curving of sheet. The tail light I decided to half french in, I think it is a good way to have it not sticking out in no mans land whilst not looking too slick.
At this point I have traded out the factory LM3 wheels with a set of self assembled spoked wheels. From memory they are factory Guzzi California hubs with Akront 2″ and 2-1/2″ deep valanced rims.
It also seems that I have traded out the front mudguard for a purchased aluminium guard and fabricated the mounting bracket for it, from memory the initial bracket design was something really steampunk but I decided to tone it back a little.
- Jan, 2015 – Rewiring
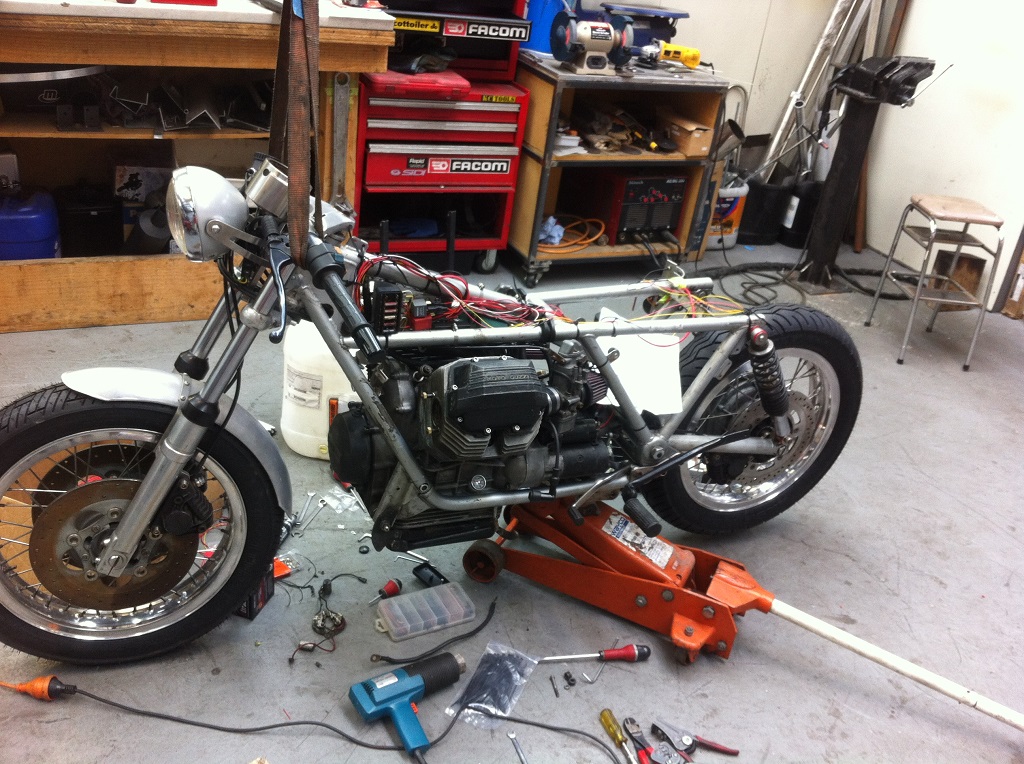
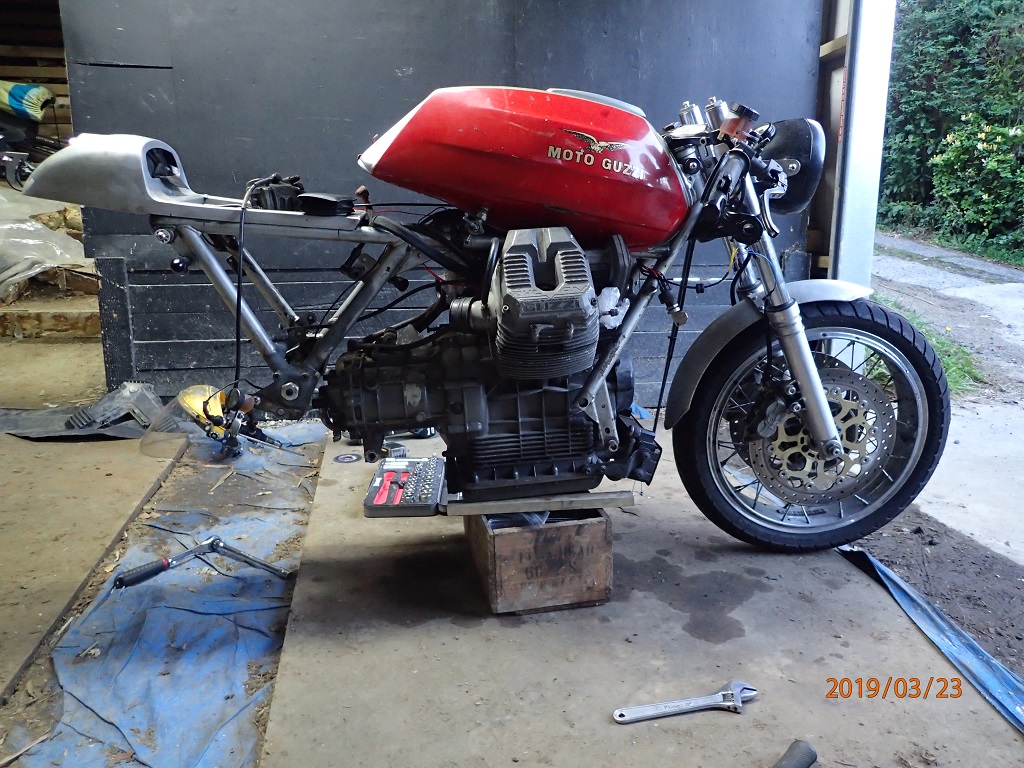
I set to the task to rewire the bike removing almost all objects that obstruct the clear view through the frame triangle. Initially I was going to ‘tidy up’ the original wiring but it became obvious pretty quickly that a rewire was in order.
The battery was swapped out from the Goliath Motobatt MBTX30 to a Ultrabatt Lithium set up. Initially this went under the seat, then later on hidden up under a cavity in the fuel tank.
A shiney stainless steel housing was fabricated to house the factory speedometer.
- Jan, 2016 – Front light change, wheel change, brake change
I had swapped out the light now and integrated a Motogadget Motoscope Tiny speedometer by recessing it into the bucket. A Stainless steel bracket was fabricated to mount this light to the triple clamps.
The Akront wheels were swapped out for tubeless Guzzi X-Lace versions and the brakes were upgraded from the factory Brembo F08 to a set of California Brembo 4 Pot Calipers with disks to suit the hole patterns and offset required.
- Dec, 2018 – Exhaust fabrication, front fork and triple clamp change, rear shock change, rear set fabrication
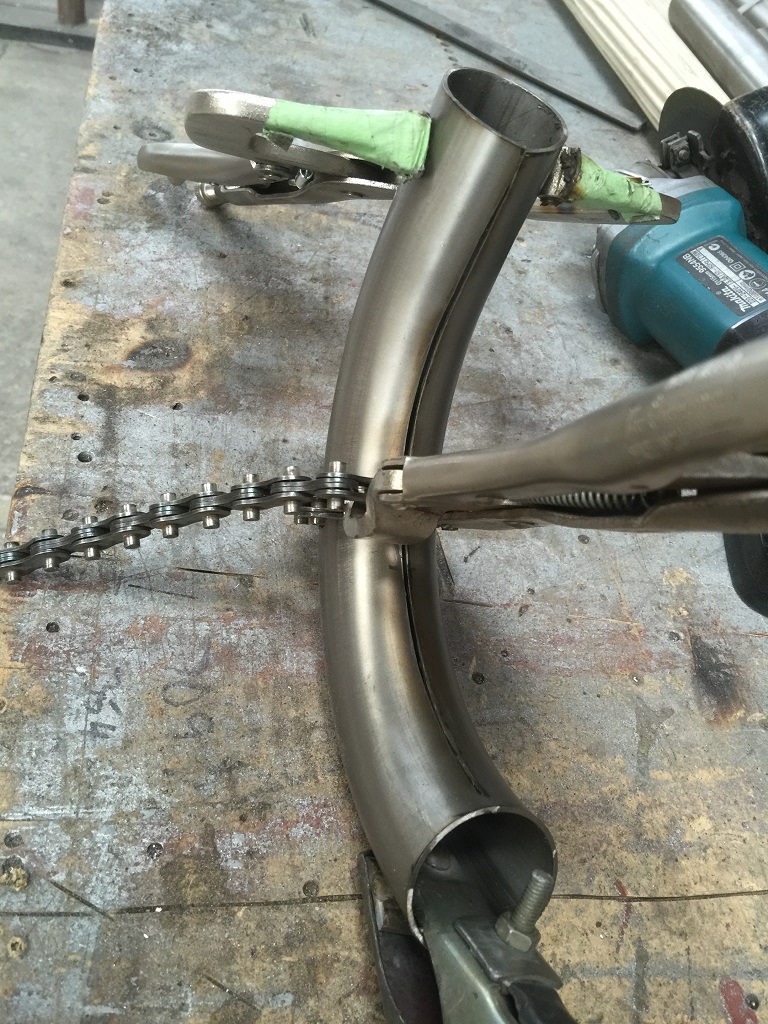
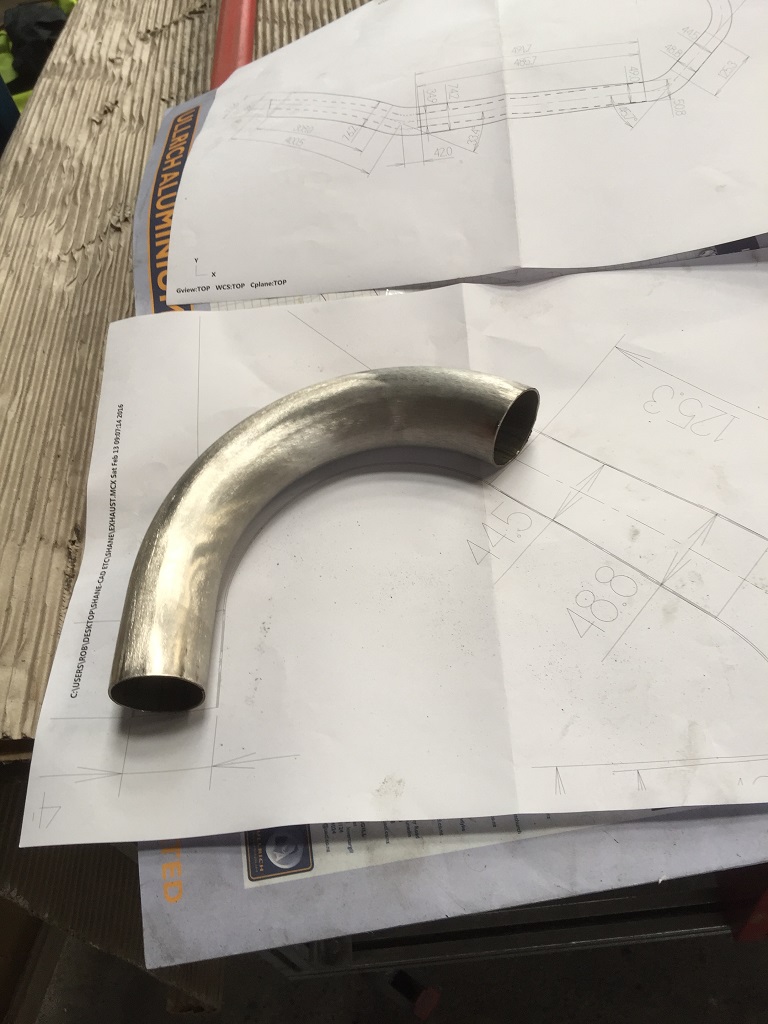
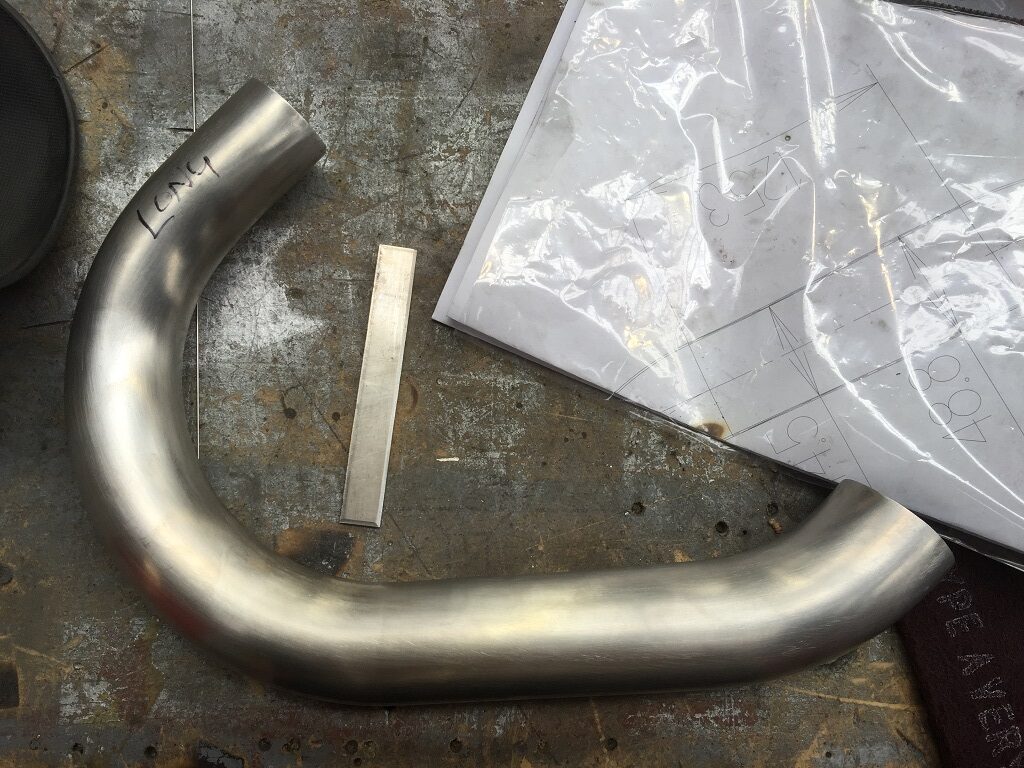
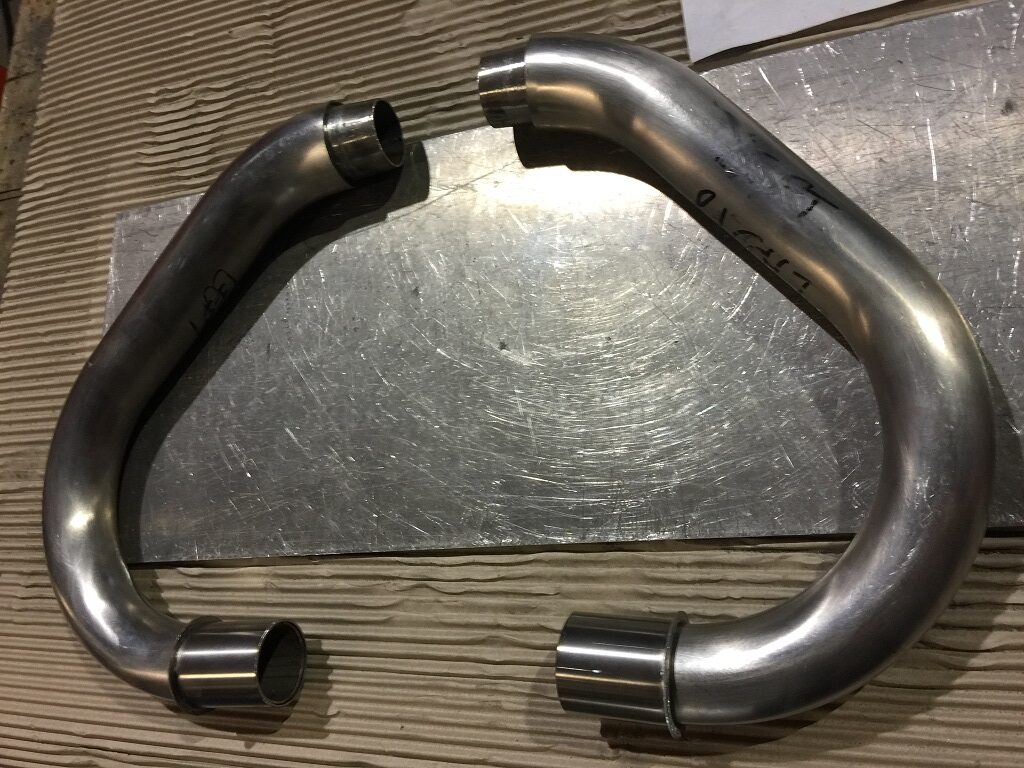
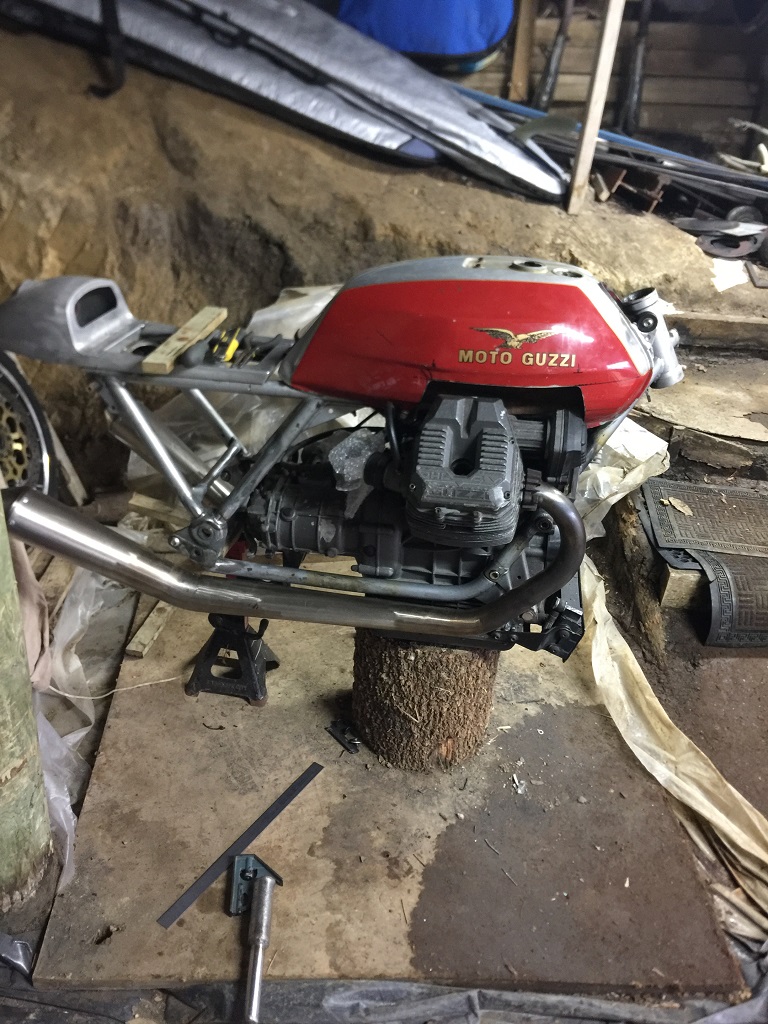
It was time to start the next largish sheetmetal step on this project, the ever tapering exhaust. This exhaust tapers from the exhaust port consistently out to the silencers and then finished with a tip inspired by a reverse megaphone meets motocross. It took a little work as there is no wiggle room for changes to the lengths of any particular section being that they are always changing in diameter so the intersections needed to be spot on.
Another change by this point was swapping out of the suspension, rear was Hagons, later to be swapped out again and the front are Marzocchi MR1which after much searching for a set from an 1100 Sport a donor set came was found from a Ducati Paso, this turned out not to be too successful being they run an external reservoir for dampening which is far from clean so were swapped out again for a set from an 1100 sport that were shortened to match the LM3 geometry by my friendly machinist Sean at Metalspray engineering here in Dunedin. I used a set of California triple clamps allowing a wider axle to better accommodate the wheel/ brake set up.
Also a set of rearset controls were fabricated using Tarozzi components along with fabricated parts and carburetors changed to a set of Keihin flat slides.
- Jul, 2021-Engine conversion, tank fabrication, re-rewiring, modelled and CNC machined components
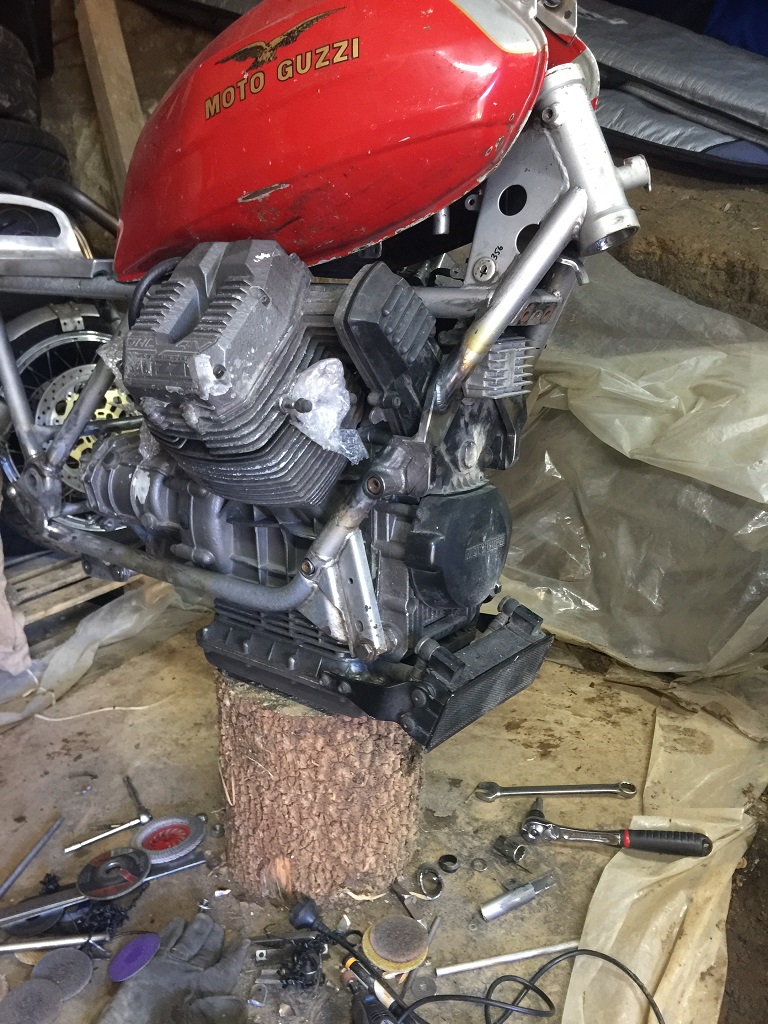
Finally time to commit to the long coveted round barrel engine for the project, and wouldn’t you know it after sourcing a fair whack of the parts something interesting presents itself, a Centauro parts bike with a 1000cc 4V high cam engine.
It kind of speaks for itself really, like most of the project so far it has mostly fit with only logical modifications using a cocktail of Moto Guzzi factory parts. In this case most of the mounting points cross over from the LM3 engine but with the exception of a fairly substantial mount to the upper of the front cover. There is one major down side and that is the fitment of the LM3 tank will no longer be an aesthetic possibility, however I like it in general so will be used as the model after much deliberation as to what would look best in my opinion.
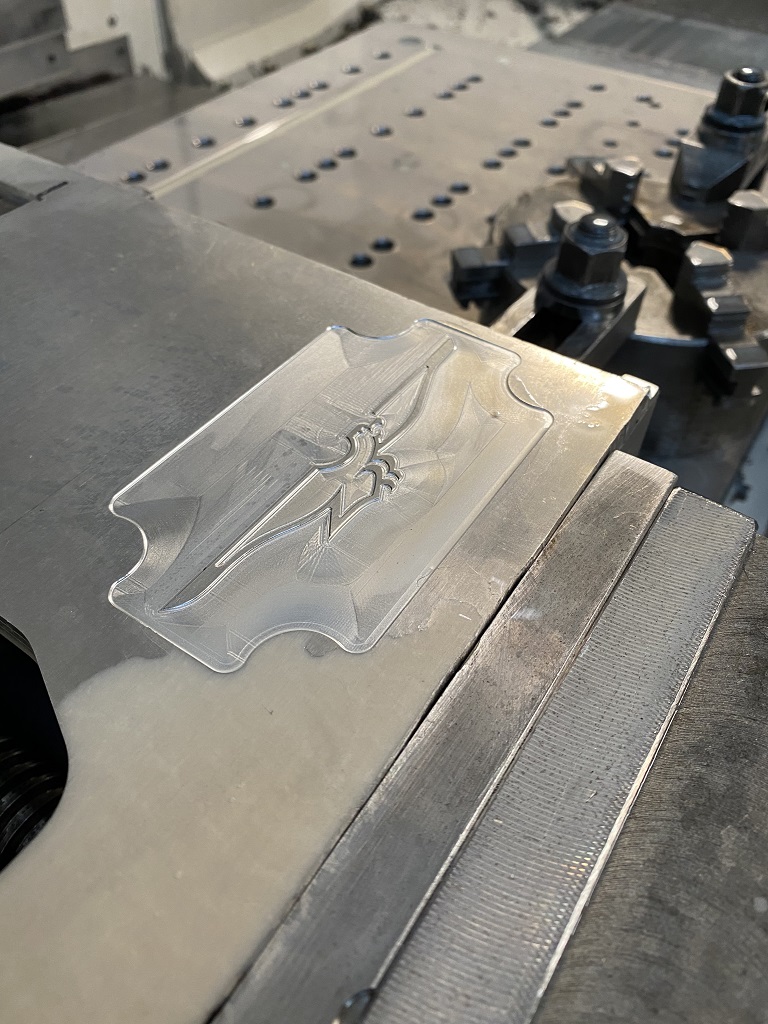
I used this opportunity to do a “final” tidy up of the frame and some CNC machined components, that being a cover for the swimming pool Guzzi has atop their transmission and a set of head crash guards, thanks again to my buddy Sean at Metalspray for the button pushing.
- Dec, 2021-Aluminium tank fabrication
The final decision is to make the tank a tribute to the original LM3 tank, I flip flopped from wanting to fabricate the atypical V7 style tank but realised that it was in fact the LM3 tank that I actually liked so why not just try and stylize it on that.
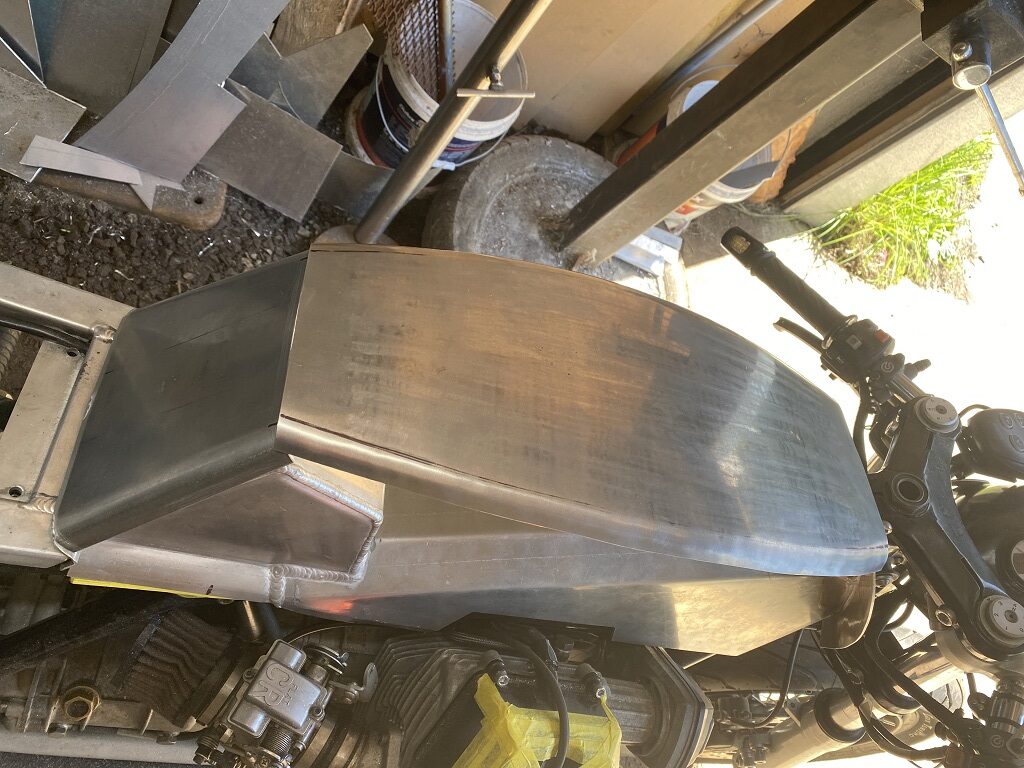
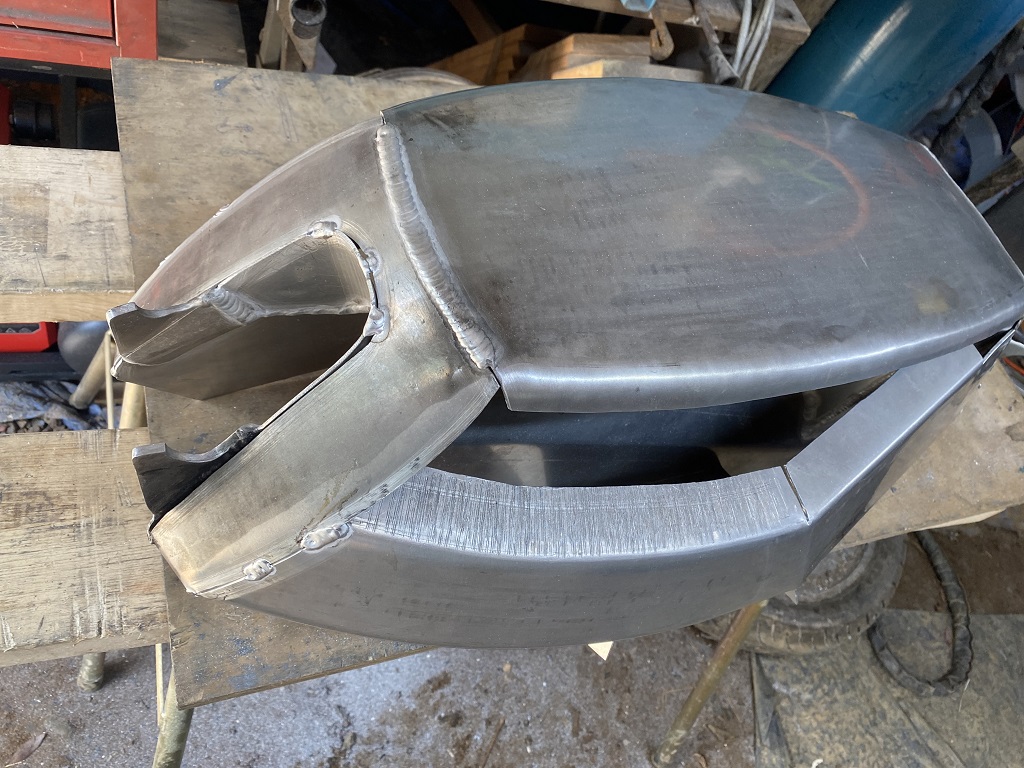
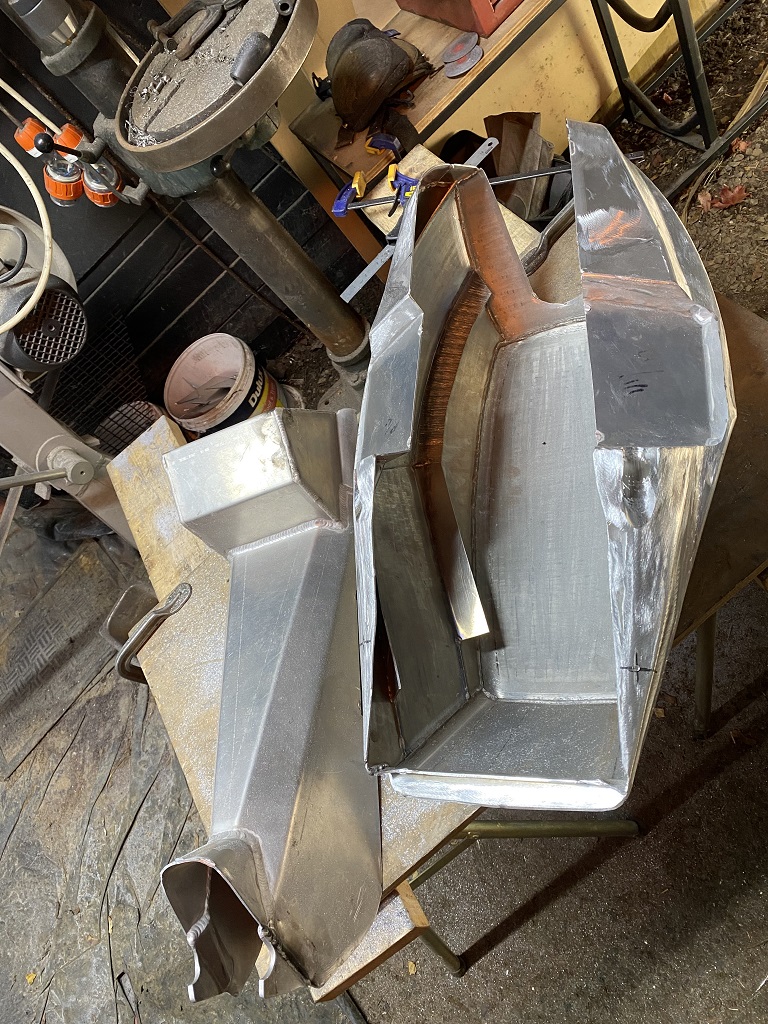
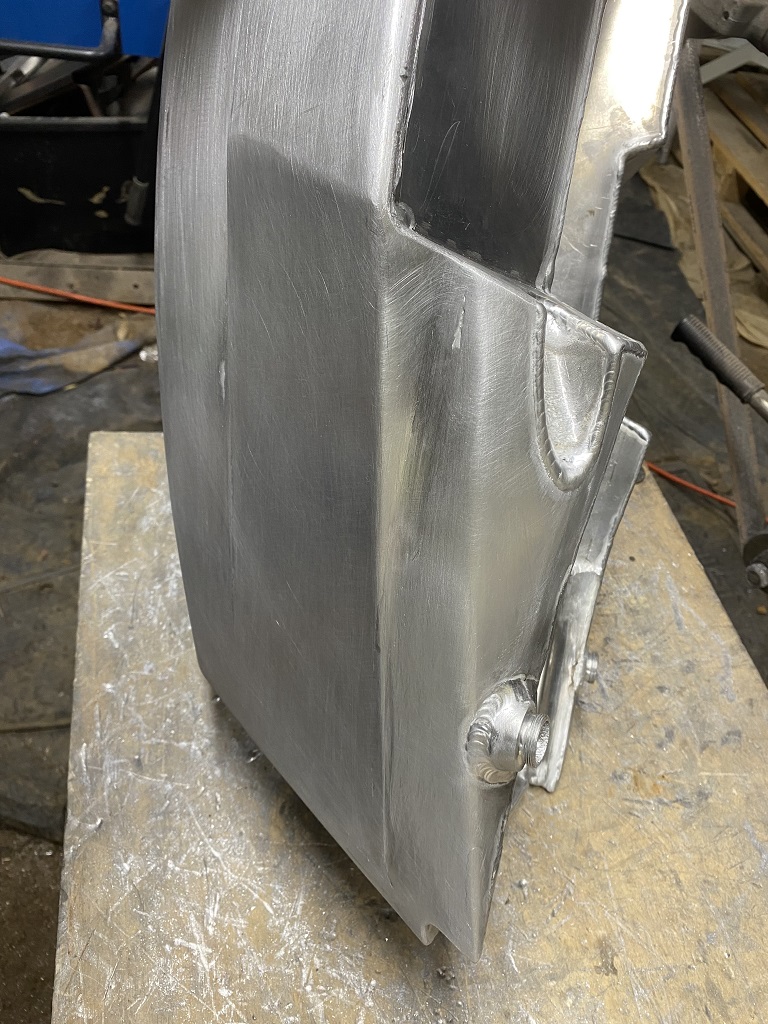
Starting with the underside of the tank and creating a pocket to enclose the battery compartment, that gives me two layers of material between the fuel and the Lithium batteries and the “hooks” that will hold down the front of the tank, this locates everything nicely for me and then I am not trying to create the tank on a moving target.
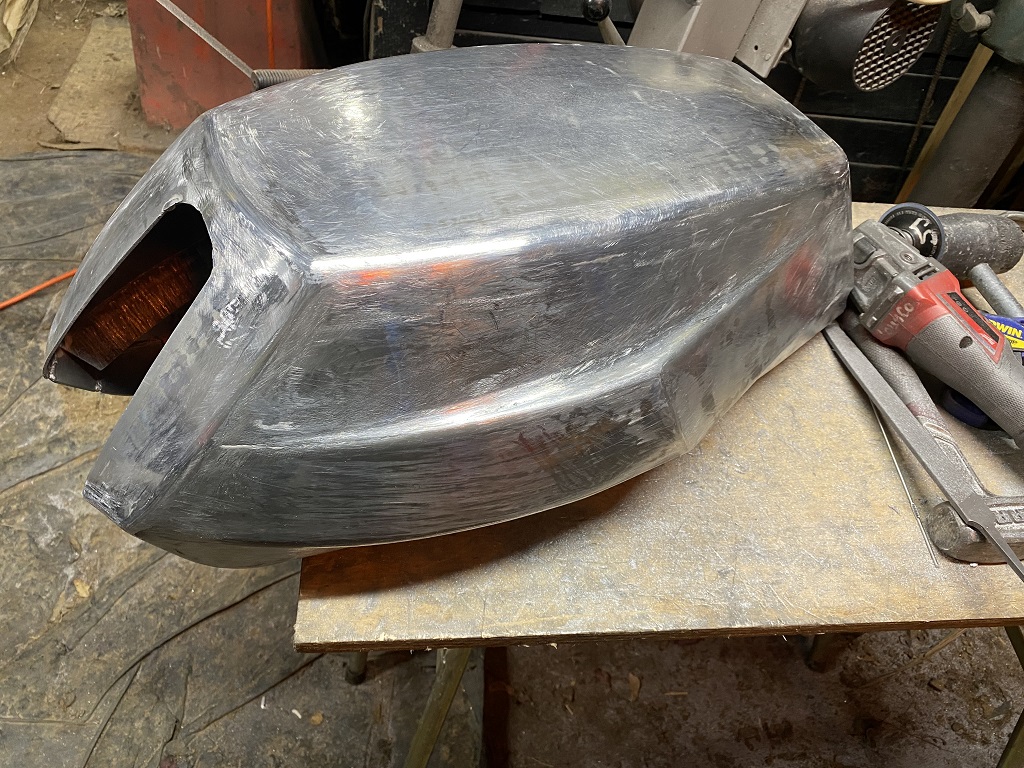
The next step is I have decided to do is is the three main top sections, this will give me a base line to attach the side panels to when they are fabricated, to keep it all even.
- Apr, 2022-Aluminium tank fabrication finalised
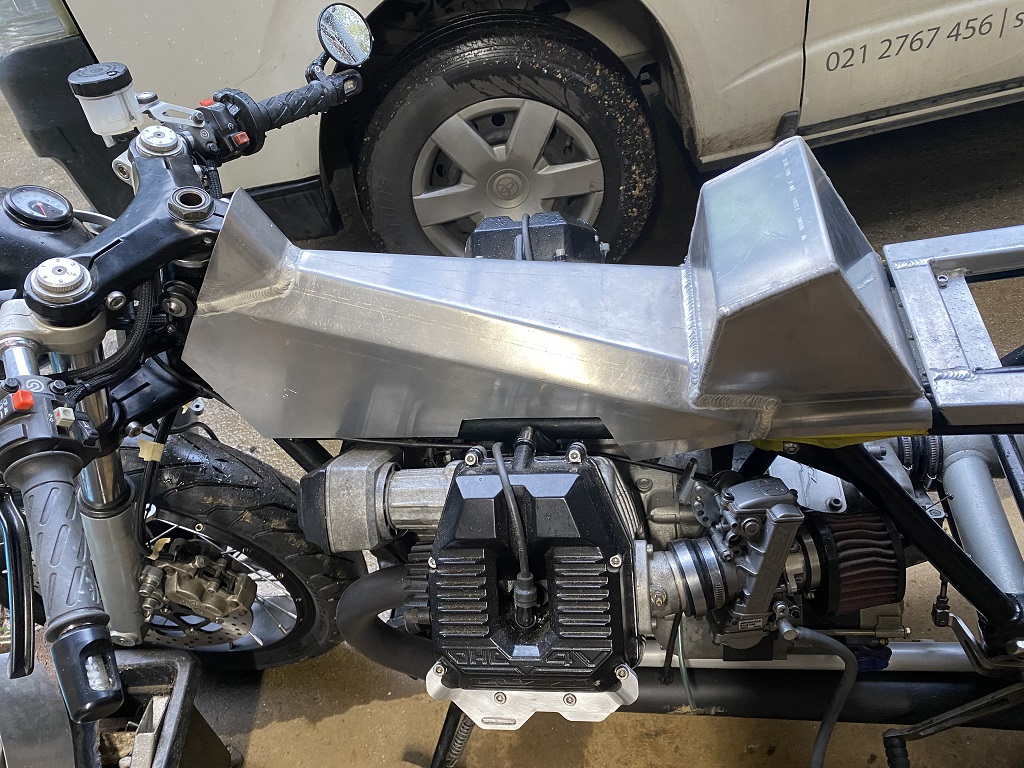
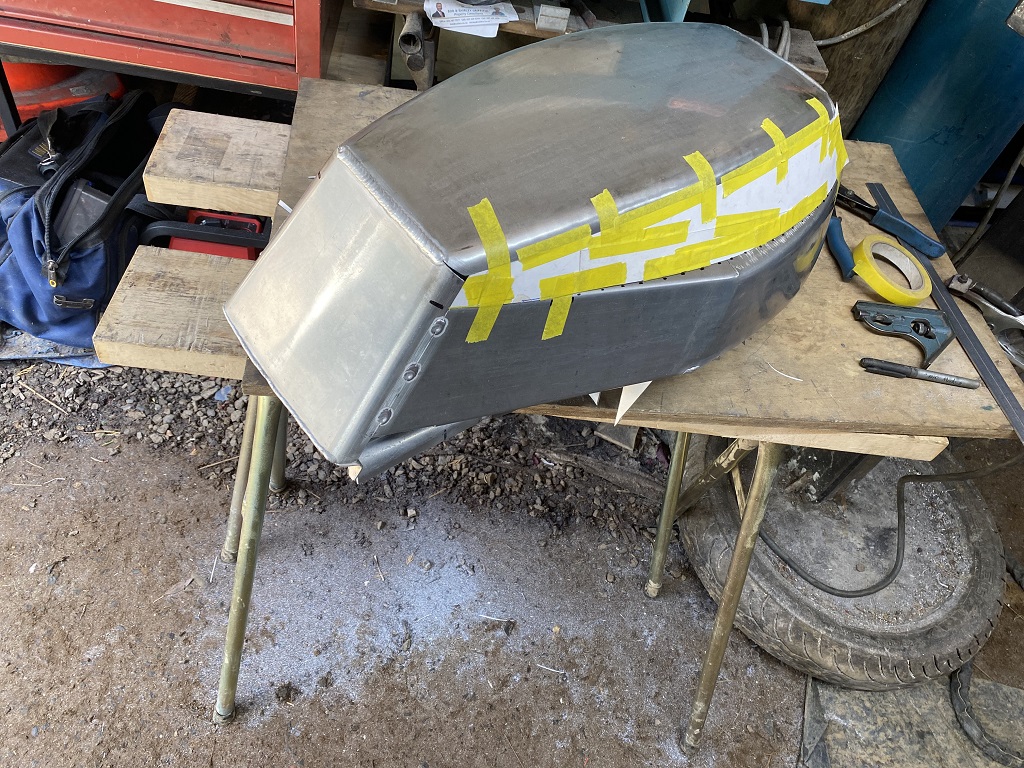
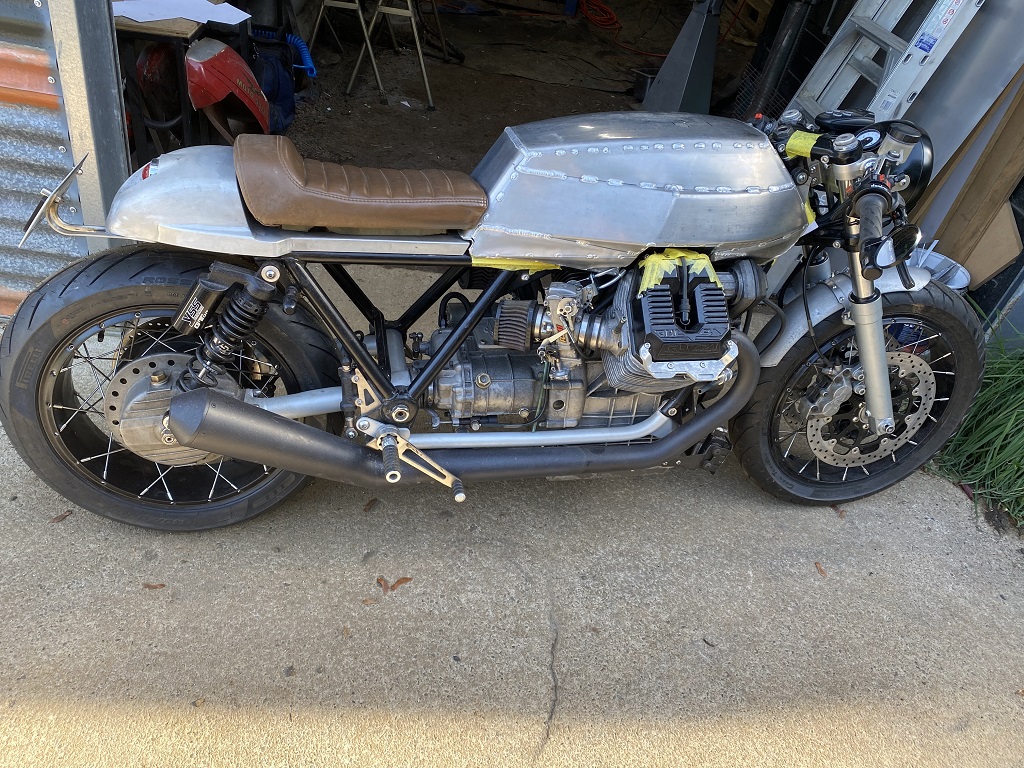
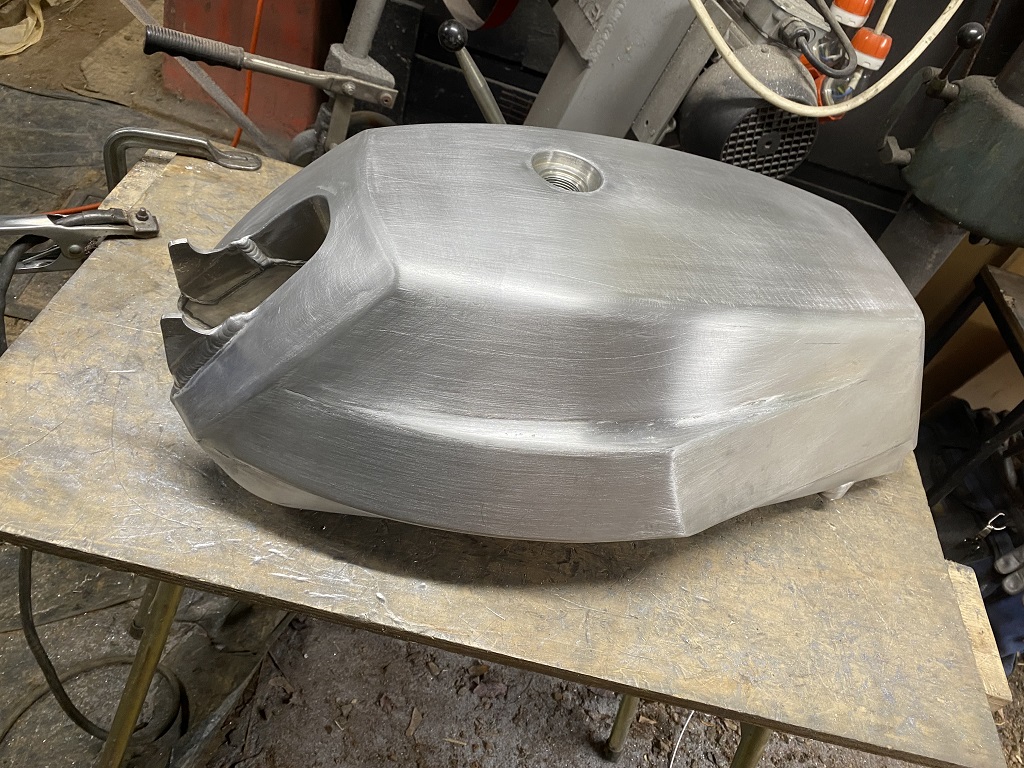
It was finally time to knock this tank over, so I spent the week creating all the remaining tank sections, welding them together and beating until I obtained an acceptable finish. I am pleased to say I think it came out about right as far as the desired look, similar to the LM3 tank but allowing for the bigger heads of the Centauro engine. It still holds a very usable 20 litres even whilst encompassing the battery mount housing hopefully giving me a range of about 250km.
I managed to ride it a short distance but still have to have it tuned properly and inspected for road worthiness.
From here most of the work will be paint and panel but there are still plenty of little loose ends to tidy up, I have a plan to tidy up any visible nuts and bolts, the front brake lines could also be readdressed.
- Dec, 2023-Painting
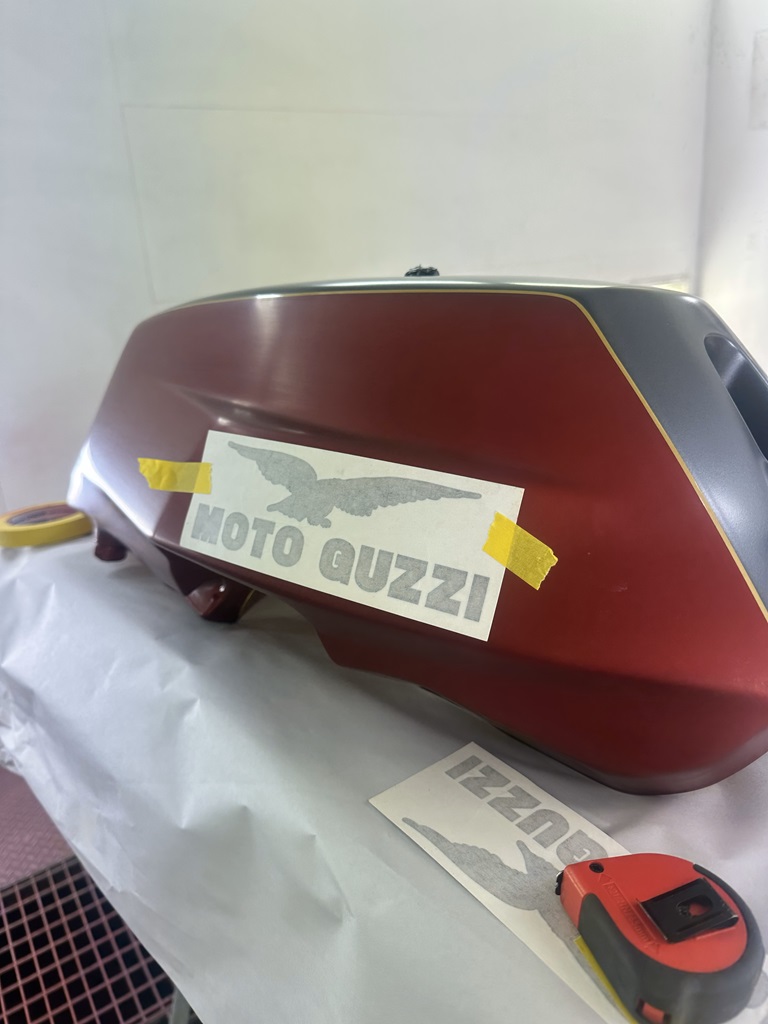
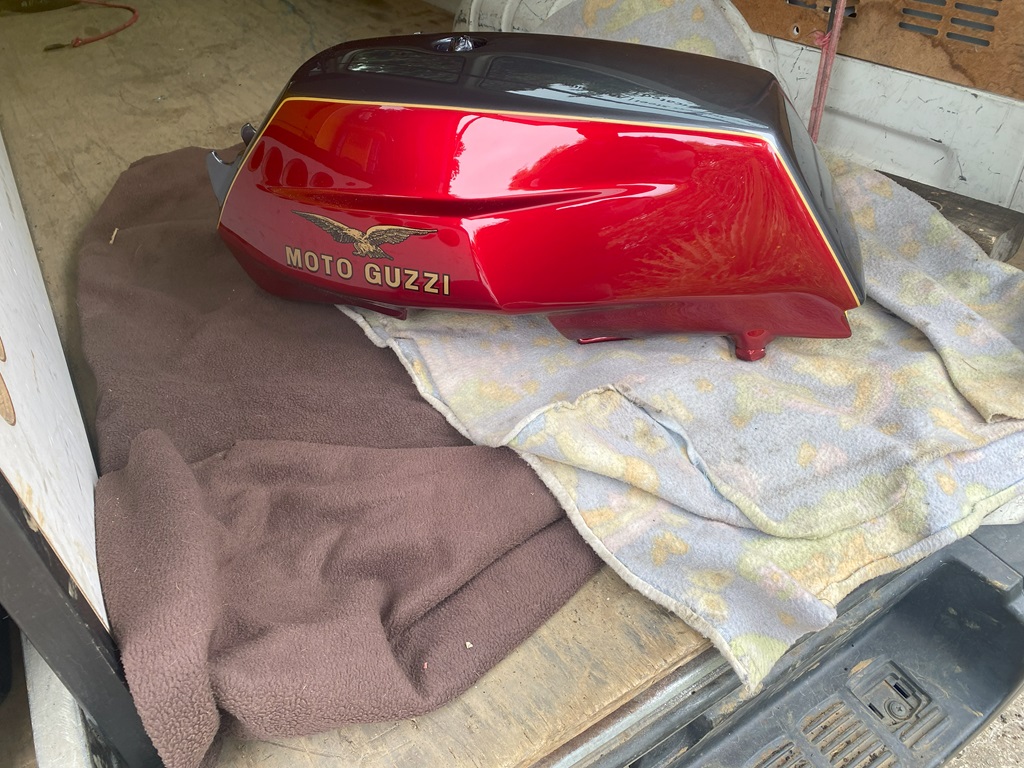
I had Cory and his guys at Retro Automotive here in Dunedin give the tank, tailpiece and front mudguard a once over and put the final colour on. I went with a red/ green combo giving a nod to the classic Italian tricolore with a modern twist using a bit of pearl to spice it up. I broke up the accent colours with a muted grey to separate.

